
If you’re a parent or caregiver of a curious toddler, you’ve probably seen the magic of busy boards. These interactive panels are packed with latches, zippers, knobs, and textures that keep little hands busy and minds engaged. But store-bought busy boards can be expensive and may not include exactly what your child loves. That’s where a DIY busy board comes in. Not only is it budget-friendly, but it also lets you customize every element to match your toddler’s interests and developmental needs. In this guide, I’ll walk you through everything from planning to building your own sensory board, with safety tips and creative ideas along the way.
What Is a DIY Busy Board?
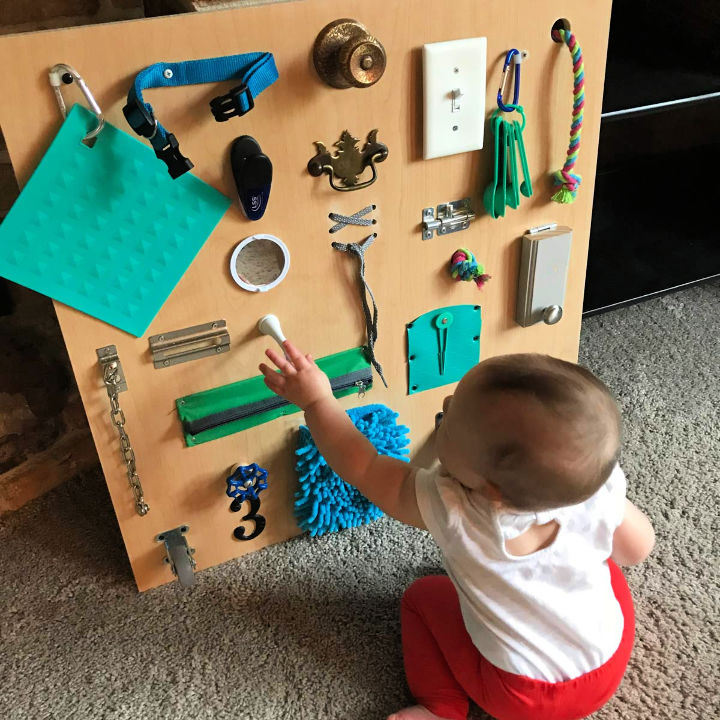
A DIY busy board is a handmade activity board designed to stimulate a toddler’s senses and fine motor skills. Typically made from a sturdy base like plywood, it features everyday objects that children can manipulate—such as light switches, door knobs, Velcro strips, and buckles. Unlike mass-produced toys, a DIY version allows you to choose exactly which components to include, ensuring they are safe, age-appropriate, and engaging. The result is a personalized learning tool that grows with your child.
Benefits of Busy Boards for Toddlers
Busy boards offer a wealth of developmental benefits. They help improve fine motor skills as children practice gripping, twisting, and sliding different mechanisms. Problem-solving abilities get a boost when a toddler figures out how to latch a lock or unzip a pouch. Sensory exploration is also key—different textures, sounds, and colors stimulate multiple senses at once. Additionally, busy boards encourage independent play, giving parents a few moments of peace while their child stays absorbed in exploration. Best of all, they provide a screen-free alternative that sparks creativity and focus.
Materials and Tools You’ll Need
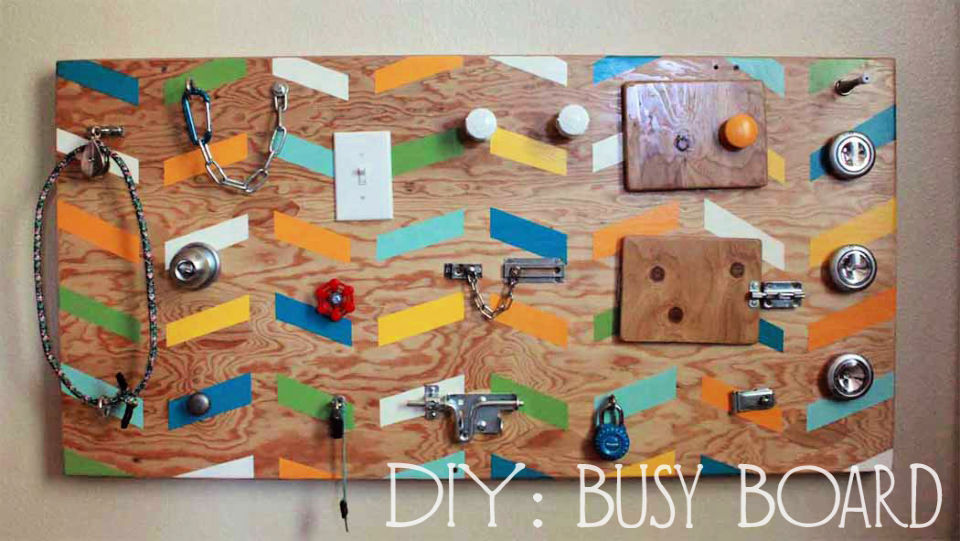
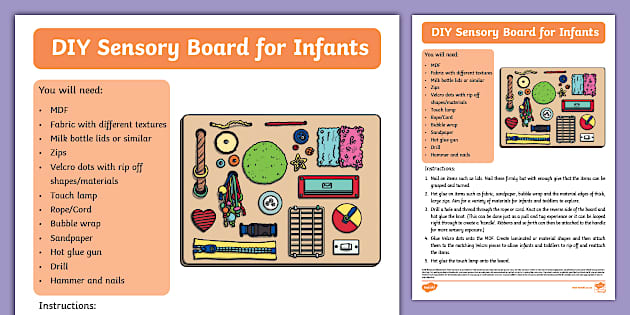
Before you start, gather the following essentials. For the base, choose a wooden board (about 18 x 24 inches) that’s smooth and sanded. Plywood or MDF works well. Secure the board to a wall or frame it so it stays stable. For components, raid your hardware store and home for items like:
- Latches and locks (cabinet handles, slide bolts)
- Switches (light switch, toggle switch)
- Zippers and Velcro strips
- Doorbells or buzzers (battery-operated)
- Small hinges and knobs
- Felt or fabric pieces for texture
- Shoelaces for lacing practice
Tools include a drill, screwdriver, sandpaper, strong glue (like E6000), and a saw if you’re cutting the board yourself. Ensure all screws and small parts are securely attached so they cannot be swallowed. Avoid sharp edges or items that could pinch.
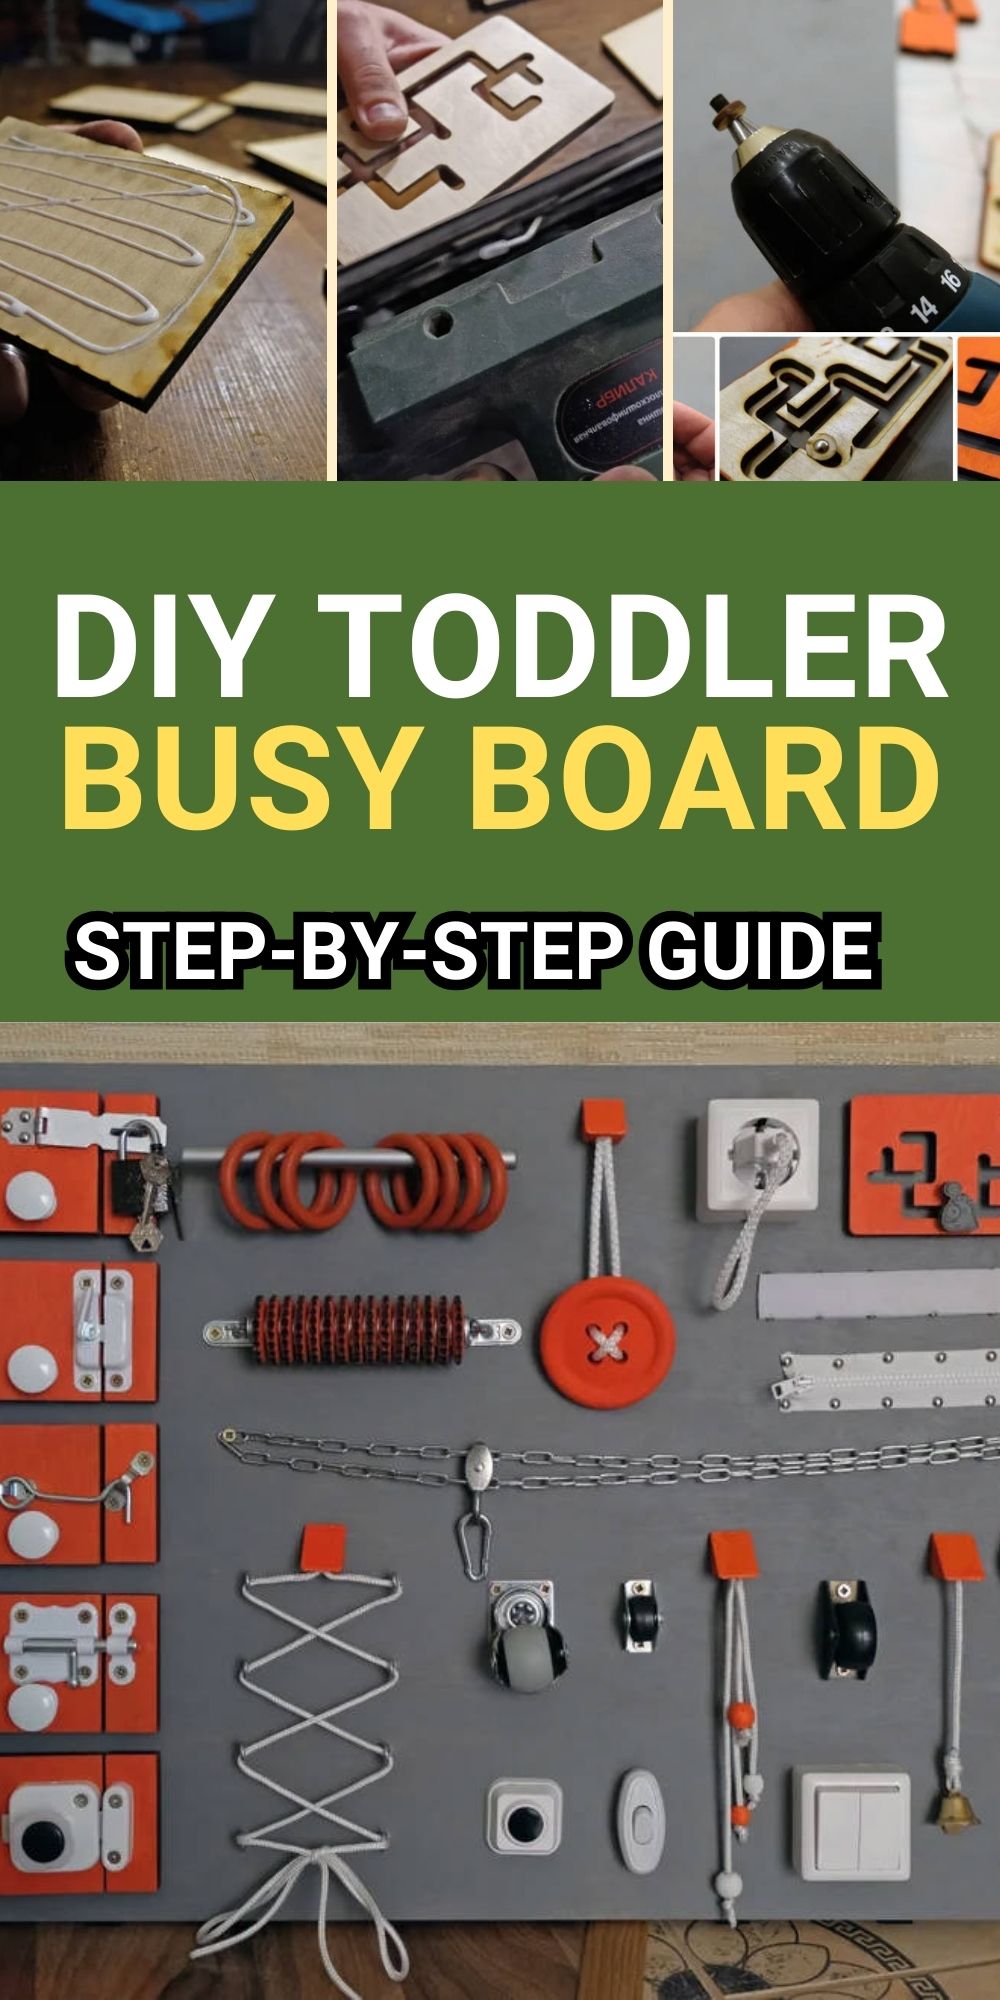
Step-by-Step Instructions to Build Your Busy Board

Step 1: Plan the Layout
Lay out all your components on the board without attaching them. Group similar activities together, and leave enough space between items for little hands to maneuver. Consider placing heavier items near the bottom to lower the center of gravity.
Step 2: Prepare the Board
Sand any rough edges and wipe clean. If you plan to paint or seal the board, do it now and let it dry completely. A non-toxic finish is best for safety.
Step 3: Attach Hardware
Using a drill and screws, fasten each component securely. For items that don’t have screw holes (like a zipper), use strong glue or small nails. Double-check that everything is tightly fixed—toddlers are strong and determined!
Step 4: Add Sensory Elements
Incorporate textures by glueing on felt, fur, or sandpaper patches. You can also attach a small mirror (acrylic for safety) or ribbons to pull. Ensure no pieces can be detached.
Step 5: Install the Board
Mount the board on a wall low enough for your child to reach easily. Use heavy-duty anchors and screws into studs if possible. Alternatively, build a stand frame so the board can be portable but stable.
Step 6: Test It Out
Before letting your child play, test every item yourself. Pull on latches, try to remove parts, and check for any splinters or sharp points. Make adjustments as needed.
Safety Tips for DIY Busy Boards
Safety is paramount. Always supervise your toddler during play, especially with new boards. Use non-toxic materials and finishes. Avoid small parts that could become choking hazards—everything should be larger than a toilet paper roll tube. Secure all components with screws rather than glue where possible, and check periodically for wear and tear. If the board is wall-mounted, ensure it cannot tip over. Consider the age of your child: for younger toddlers, avoid items with cords that could wrap around necks.
Creative Ideas for Busy Board Themes
Make your busy board unique with a theme that excites your child. A “house” theme might include a mini door knocker, key chain, and mailbox flap. A “mechanics” theme can have bolts, gears, and a working flashlight. For sensory seekers, use contrasting colors and sounds—doorbells, crinkly fabric, or bubble wrap under a clear lid. You can even turn the board into a felt storyboard for quiet time. Let your child’s interests guide you, and don’t be afraid to swap out activities as they grow.
Where to Place Your Busy Board
Location matters for maximum engagement. A busy board works well in a playroom, near the kitchen while you cook, or even mounted in a hallway for quick play. Ensure the area is well-lit and clutter-free. If you place it outdoors, use weather-resistant materials. Avoid high-traffic zones where it might get bumped. The key is to make it accessible—at toddler eye level—so your child can initiate play independently.
Frequently Asked Questions
What age is a busy board suitable for?
Busy boards are generally safe for toddlers aged 12 months to 3 years, but always supervise younger children and remove choking hazards. For older kids, you can add more complex activities like locks with keys.
How much does a DIY busy board cost?
Depending on materials, a DIY busy board can cost between $15 and $50. Using recycled household items keeps costs low.
Can I make a busy board without power tools?
Yes. Use a pre-cut board from a craft store, and attach items with heavy-duty glue or sticky Velcro. However, for safety, screw-in items are more secure.
How do I clean a busy board?
Wipe with a damp cloth and mild soap. Avoid submerging electronic items. For fabric parts, spot clean or remove if washable.
What if my child loses interest?
Rotate components or add new ones over time. Busy boards can be updated as your child develops new skills.
Building a DIY busy board is a rewarding project that combines creativity with practical child development. You’ll save money and give your toddler a toy that’s truly one of a kind. By following this guide, you can create a safe, engaging sensory experience that provides hours of exploration and learning. So gather your supplies, involve your little one in the process if possible, and enjoy the satisfaction of crafting something special with your own hands. Your child’s curious mind will thank you!